
- Edit Homepage USP's
- Add Main Homepage Banner
- Add Main Mobile Banner
- Add Dynamic Grid Banners 1 & 2
- Add Dynamic Grid Banners 3, 4 & 5
- Editing Buttons & Text On Dynamic Grid Banners
- To Edit The Banner Text
- Add ‘Best Sellers’ Dynamic Featured Products
- Edit Parallax Image
- Edit Why Xclusive Text & Image
- Add Featured Blog Posts
- Editing The Site Footer
Your homepage wireframe has been built for you, all you will need to do is add images, add a bit of text and make a few tweaks to the settings already there.
If you haven’t already prepared your homepage images, we strongly recommend you do so by following the instructions here:
This theme has been designed for page load speed and ease of building, customizing and launching therefore the numbers of images used have been reduced.
Once you have your images sized correctly you can begin customizing your homepage. Optimizing your images to the correct size for mobile desktop will significantly improve your page load speed scores.
Edit Homepage USP’s #
When you install your theme you will need to edit the USP messages:

To make it easier for you, we have made these visible on mobile but before you put your store live, you will need to hide these on a mobile.
To access the USPs and your homepage settings:
- From your Shopify Dashboard, click Online Store
- Click Themes
- Click Customize (black button right of page)
- Scroll down to the 2nd Dynamic Grid
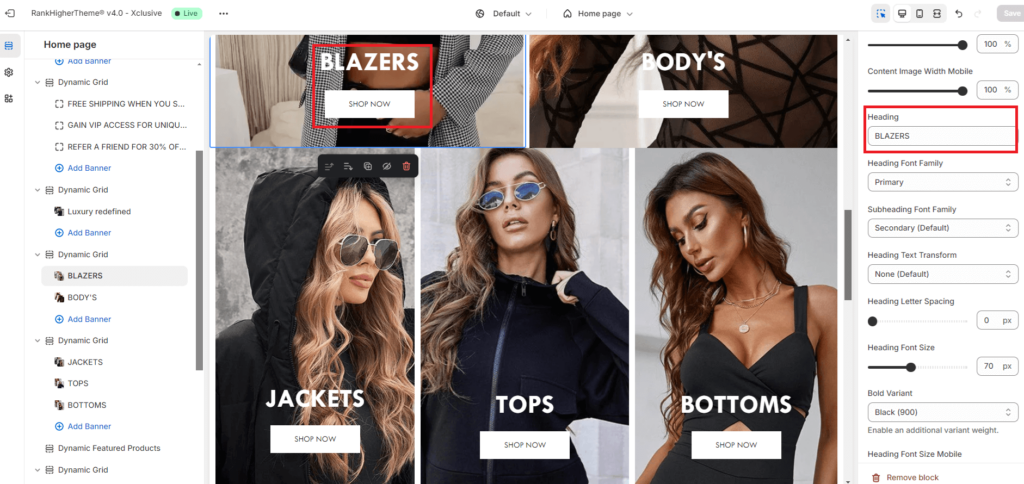
- Click on each banner (one by one) and scroll down on the right hand side of your screen until you get to Heading
- Edit text accordingly
- Click Save (top right hand corner)
- Repeat the process for the other 2 banners
- Click on the Dynamic grid above the 3 banners
- Scroll down in the right sidebar until you get to Visibility
- Unitck Visible on mobile
- Click Save (top right hand corner)
Add Main Homepage Banner #

To add your homepage banner you will need to access the customizer. From your Shopify Dashboard:
- Click Sales Channels
- Click Online Store
- Click Customize (black button on the right hand side of the screen)
- Click Themes
Underneath Home page > Template you will see the first Dynamic Grid:
- Click the Dynamic Grid dropdown to expand (>) (or the image placeholder, you will notice it is highlighted in blue)
- Click Banner underneath Dynamic Grid
- On the right hand side, scroll down to Image > Background Image
- Click Select image (2100 x 600px)
- Select image from Store library or Upload image (2100 x 600px)
- Click Save
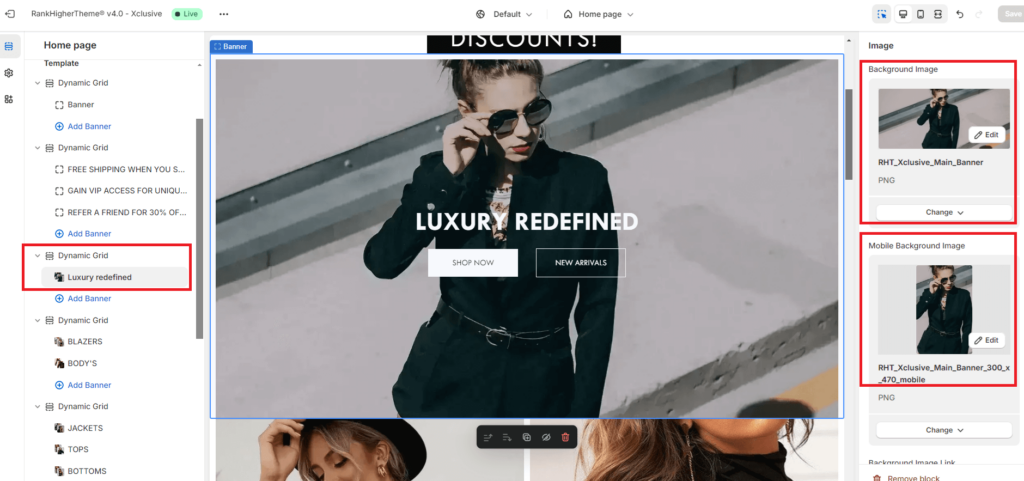
Add Main Mobile Banner #
Underneath the main background image, you will see another box called Mobile Background image
- Repeat steps 4-6 above with the mobile image (300 x 470px)
Add Dynamic Grid Banners 1 & 2 #
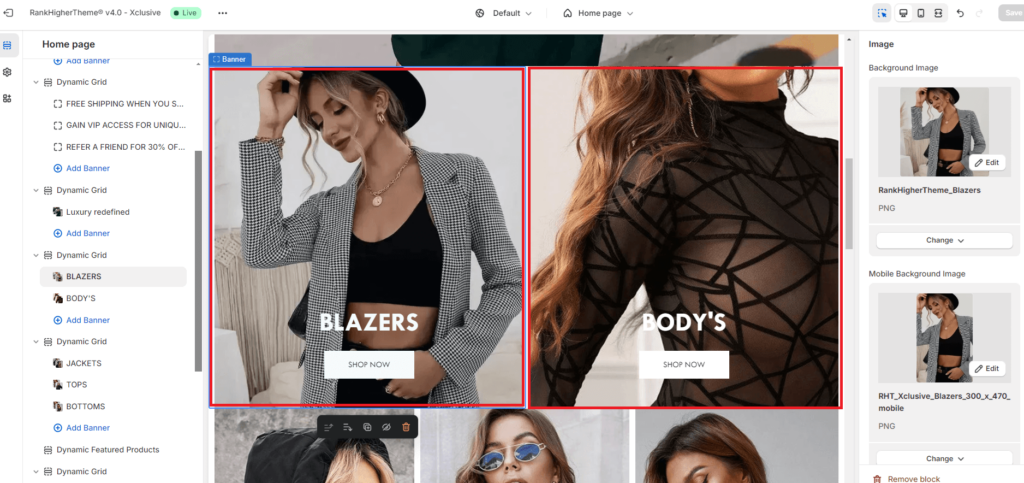
Underneath Scrolling Text Banner, you will see another Dynamic Grid Section:
- Click the Dynamic Grid dropdown to expand (>) you will see 2 banners this time, one for the left and right.
- Click on the first Banner (left banner) or the image placeholder on the left, you will notice the left image will be highlighted in blue)
- On the right hand side, scroll down to Image > Background Image
- Click Select image
- Select image from Store library or Upload image (900 x 570px)
- Click Save
- Underneath Background Image you will see Mobile Background Image
- Repeat steps 4-6 above with an image 300 x 470px
- Click Save
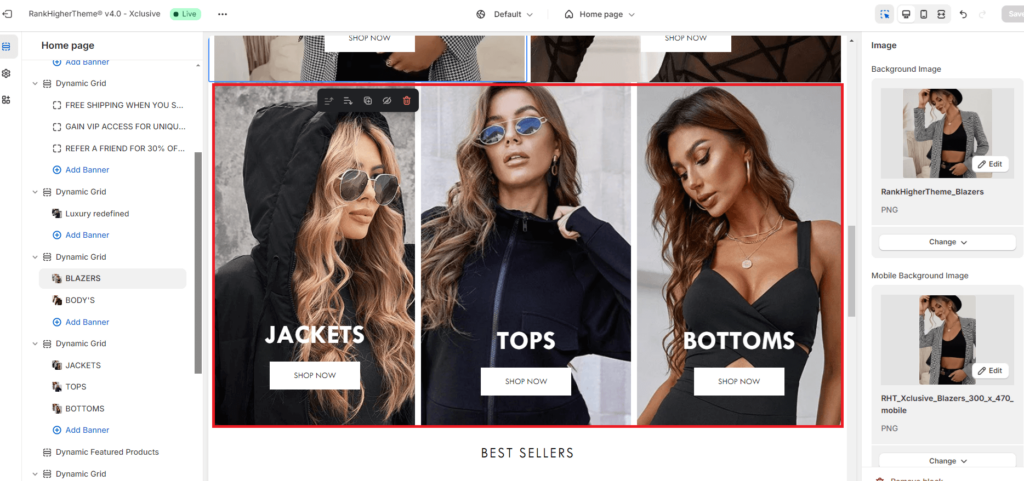
Add Dynamic Grid Banners 3, 4 & 5 #
- Repeat steps above using desktop sized images of 690 x 570 and mobile images sized 300 x 470px
Editing Buttons & Text On Dynamic Grid Banners #
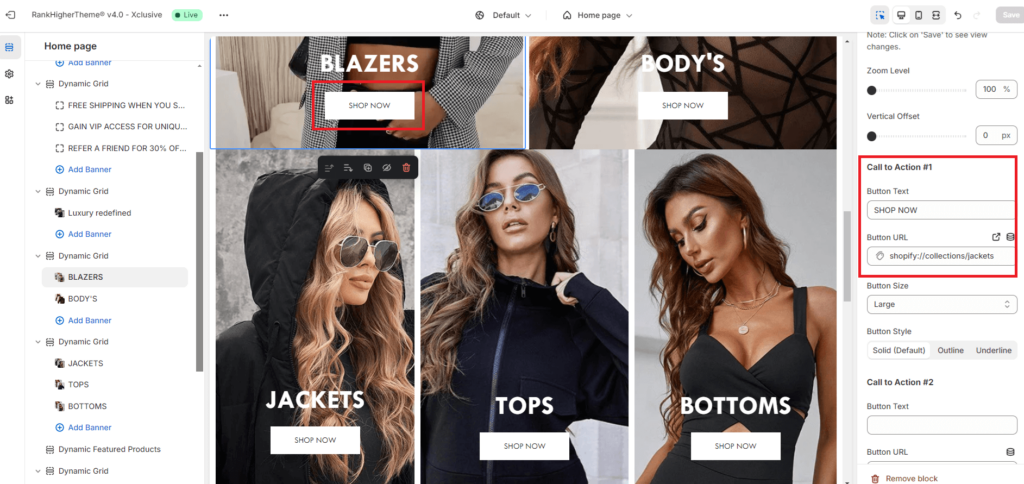
- Click on the banner (not dynamic grid) on the left hand menu where you wish to edit the banner button (any banner)
- On the right hand side you will see options for colors which can be edited to match your brand colours if required.
- To edit Button Text scroll right down on the right hand side of the screen to Call To Action #1
- Click in the box underneath Button Text
- Enter required text
- Click in Button URL and select link
- Click Save (top right corner)
To Edit The Banner Text #
- Repeat the step[s above but scroll down to Heading and edit the text…
Add ‘Best Sellers’ Dynamic Featured Products #
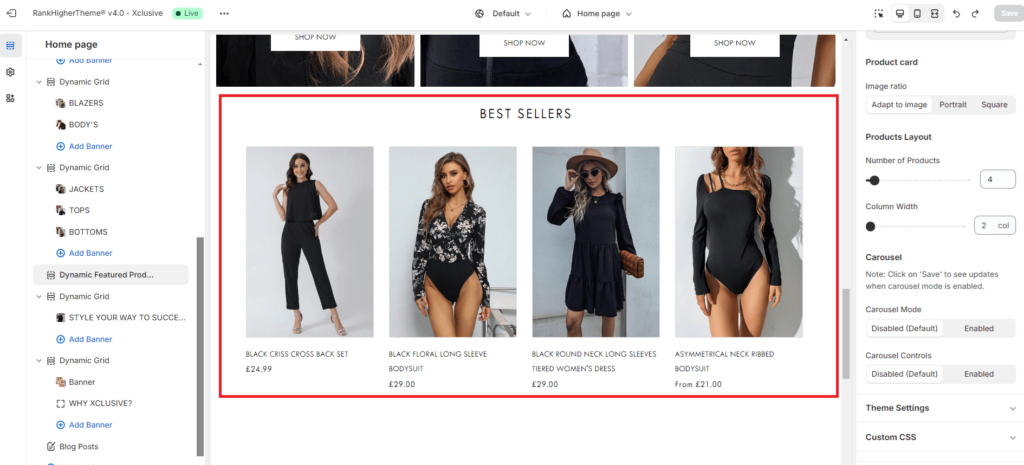
Click on the first Dynamic Featured Products in the left hand menu. If you wish to change the name of this you can do so by clicking in the box under Header Title on the right hand side and edit this.
- Scroll down to Collection > Collection to Use
- Click Select Collection or + Create Collection of a minimum 4 products
- Select collection
- Click Save (top right corner).
Edit Parallax Image #
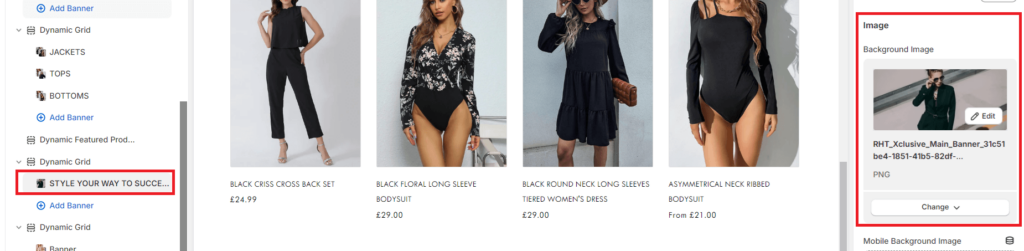
PLEASE NOTE – this image will not typically show up in the customizer as this images is set not appear on a mobile for speed optimization.
- Click on the banner image underneath the Dynamic Grid under Dynamic Feature products (see image above)
- Select image from Store library or Upload image 2100 x 900px (same as banner image)
- Click Save
Edit Why Xclusive Text & Image #
To edit the Why Xclusive you will need to activate the section on mobile as you will not see this in the customizer to start.
- Click on the correct Dynamic Grid Section highlighted below
- Scroll down on the right hand sidebar and tick Visible on Mobile for the section to appear

Once this appears…
- Click on banner underneath the Dynamic Grid Section
- Scroll down on the right until you see Background Image & Mobile Background Image
- Select desktop image of 690 x 570px and mobile image of 300 x 470px
- Click Save (top right hand corner)
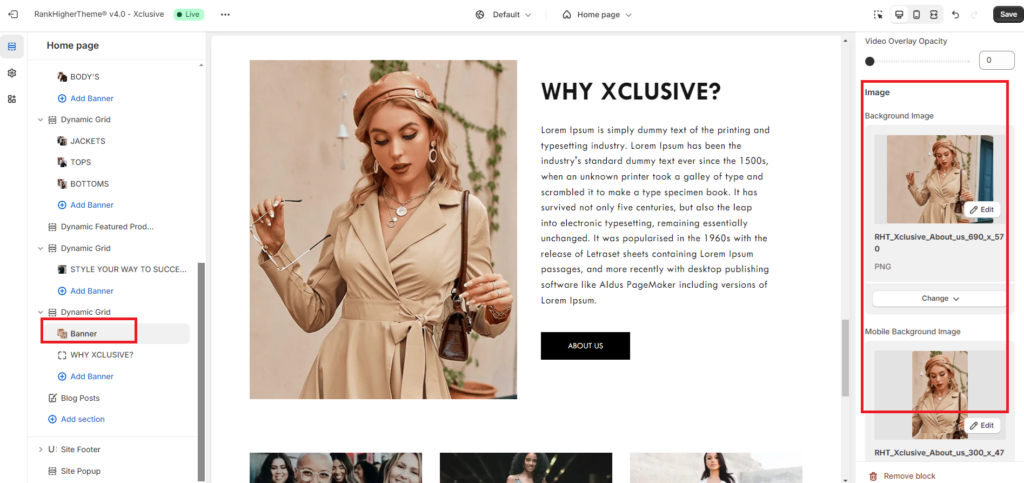
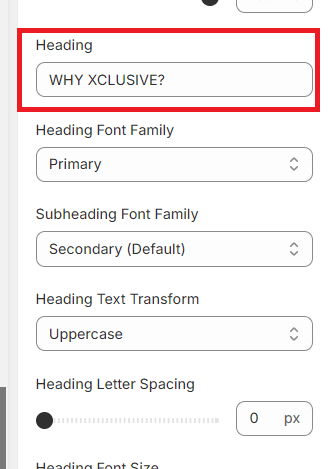
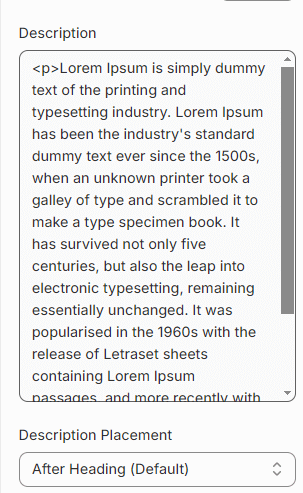
To edit the header and text…
- Click on WHY XCLUSIVE underneath the banner as in above image
- Scroll down on the right hand sidebar to Heading to change the heading and Description to change the description
- Click Save (top right hand corner)
Add Featured Blog Posts #
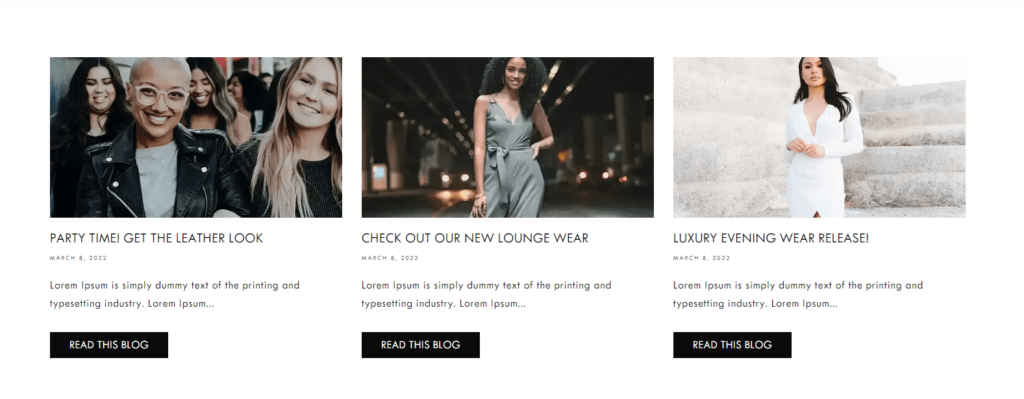
If you already have blog posts on your blog, you can highlight these on your homepage. To display these on your homepage:
- Click Blog Posts in the left hand side menu
- Edit Header Title by clicking in the box in the top right hand corner of the screen (Header > Header Title)
- Scroll down to Blog > Blog To Use
- Click Select blog
- Choose the blog category you wish to display
- Click Save (top right hand corner of the screen)
If you blog images are not aligned correctly, this is usually down to 2 things:
- Blog post image sizes – these should be (1200 x 800 px)
- Blog post titles – keep them consistent lengths of either 2 or 3 lines
Editing The Site Footer #
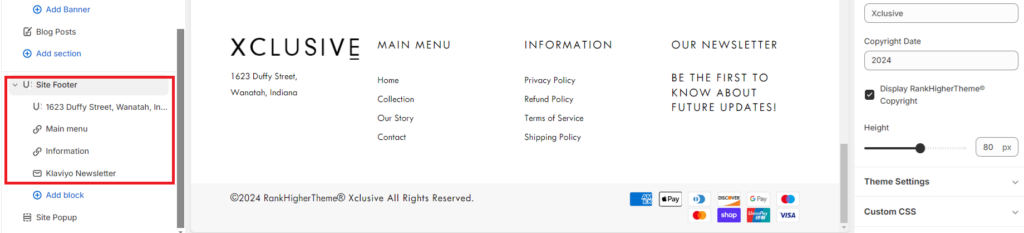
RankHigherTheme® theme has 4 main footer areas which can edited as follows:
- Click the Site Footer in the left hand menu to expand
- Edit column heading and or content (top right corner of screen)
- Click the next two menu headings to Select menus (if you need to change)
- Click Klaviyo to enter your Klaviyo Embed Code
If you are already using another automated marketing provider, please submit a support ticket so we can help you get this installed.